
Residential Tile Installation
Floors, entryways, hallways, laundry rooms, and living spaces. We set tile on surfaces that get daily use and need to hold up through Illinois winters, muddy boots, and decades of foot traffic.
Request an Estimate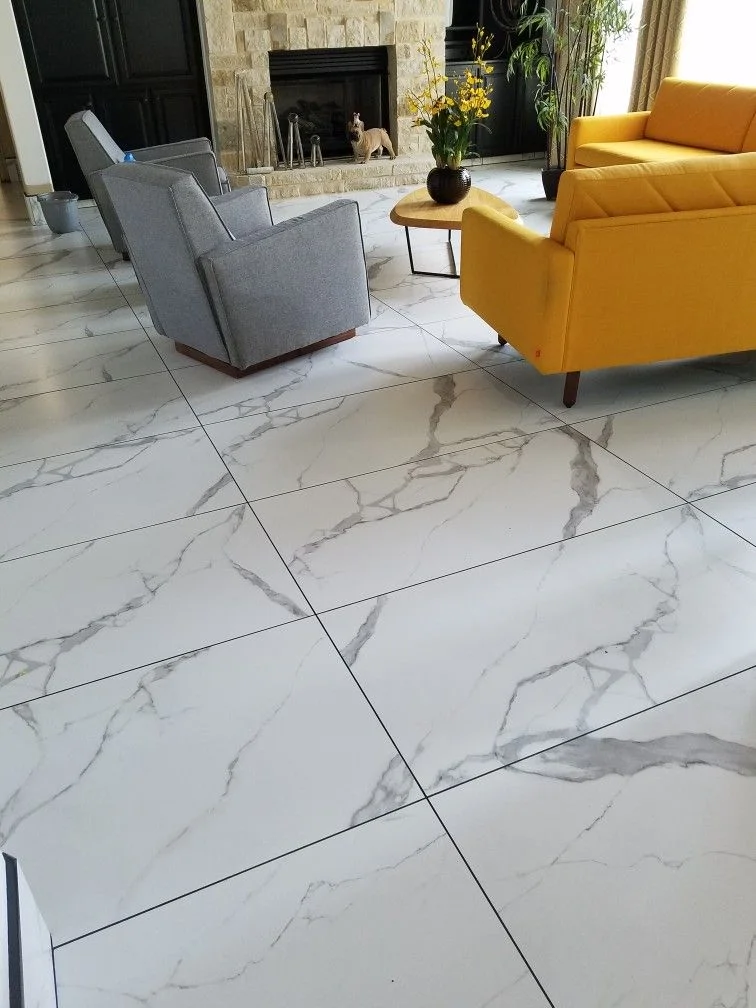
What Residential Tile Installation Involves
Tile floors are one of the more demanding surfaces to install correctly. The work begins well before the first tile is set. We assess the subfloor for deflection, flatness, and moisture. In older Aurora homes, this often means identifying spots where the wood subfloor has shifted over decades and needs leveling compound before any cement board goes down. In newer construction, the concrete slab may have minor high spots that require grinding before large-format tile will sit flat.
We use a square-notch trowel sized to the tile format, and we back-butter each tile on jobs where maximum coverage is critical, such as floors with in-floor heating or natural stone that is sensitive to hollow spots. Leveling clips keep large-format tiles flush across joints during the cure window, which is particularly important on floors where a lippage of even 1/32 inch is noticeable underfoot.
Layout planning happens before any thinset is mixed. We find the center of the room, account for doorway thresholds and cabinet kick spaces, and dry-lay a section to confirm the cut tiles at perimeters are a reasonable size. Walking into a room and seeing a 2-inch sliver of tile at the entry wall is a sign the layout was not planned. We avoid it.
Materials We Work With
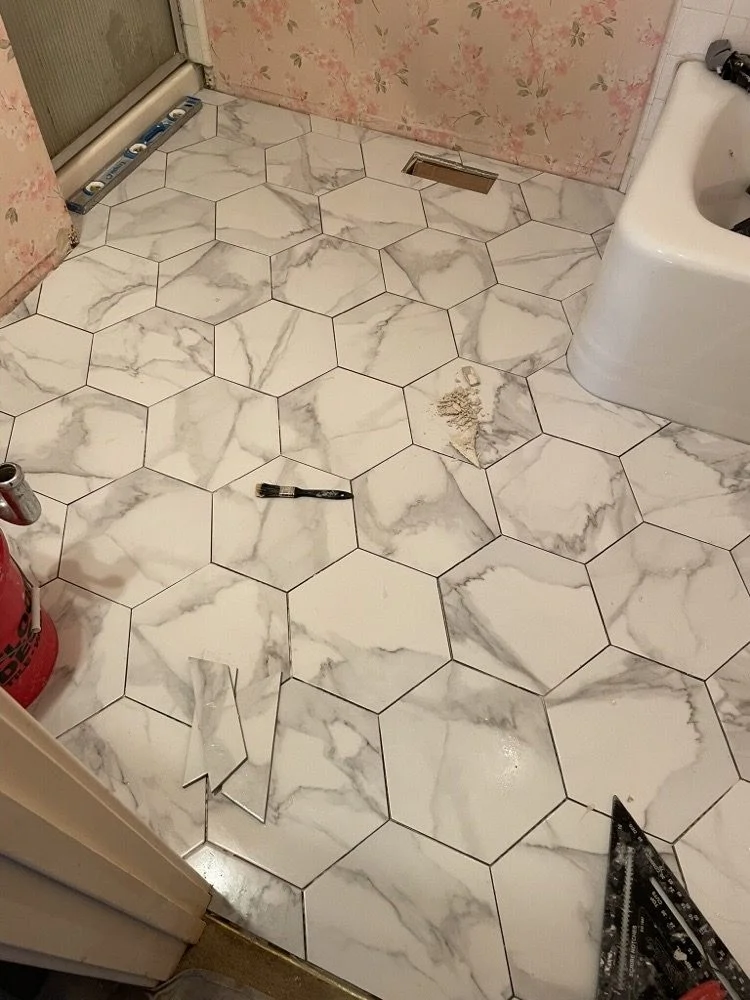
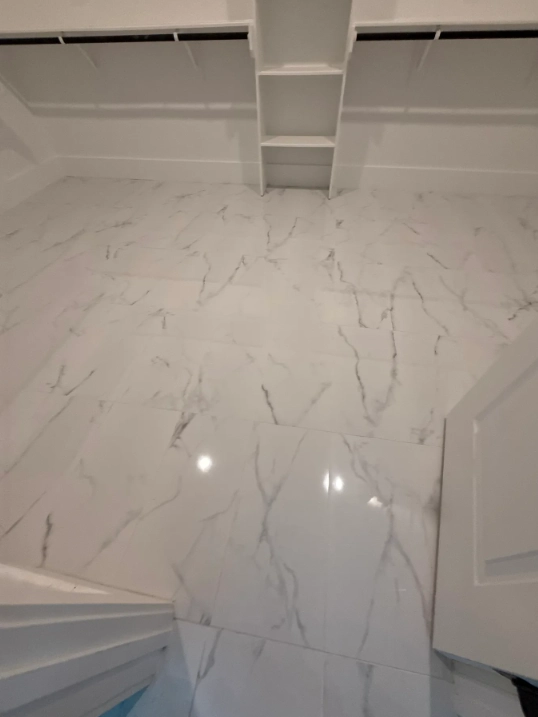
Porcelain is the most common choice for residential floors because of its density and low water absorption. We work with large-format porcelain in sizes up to 24x48 and larger. Natural stone, including marble, travertine, and slate, requires different prep and sealing considerations but is a strong choice for entryways and formal spaces. Ceramic tile is appropriate for lower-traffic dry areas. Mosaic tile on mesh backing works well for accent borders and transition strips.
What's Included
- Subfloor assessment and prep (leveling compound, cement board as needed)
- Layout planning and dry-lay before setting
- Thinset selection appropriate to the tile and substrate
- Leveling clip system on large-format installations
- Grout color selection and application
- Expansion joints at perimeters and transitions
- Sealer application on natural stone and unglazed tile
Available Across the Fox Valley
The Installation Process
Site Assessment
We visit the space, check subfloor conditions, measure the area, and discuss tile options and layout preferences. We give you a written scope before any work starts.
Substrate Prep
Leveling compound, cement board, or other prep work as needed. This is the step that determines whether the tile lasts. We do not skip it to save a day.
Setting and Curing
Tile is set with appropriate thinset, leveled, and left to cure for at least 24 hours before grouting. Foot traffic is restricted during this window.
Grouting and Finishing
Grout is applied, joints are tooled, and perimeter expansion joints are caulked. Sealer is applied on natural stone and specified tile types. The space is cleaned before we leave.
Ready to Talk About Your Floor?
Call us at (872) 328-7975 or visit the contact page to request a free estimate. We serve Aurora, North Aurora, and Montgomery.